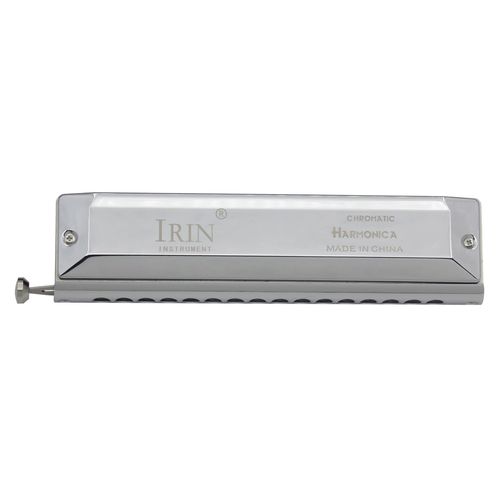
nstalling a new reed on your harmonica plate is only half the job. A newly installed reed needs precise tuning, centering, and gapping (offsetting) before it delivers clear tone, optimal airtightness, and accurate pitch. Whether you are replacing a blown reed or customizing a reed plate, this guide covers the exact process to tune a new harmonica reed for professional performance.
Step 1: Gather Required Tools
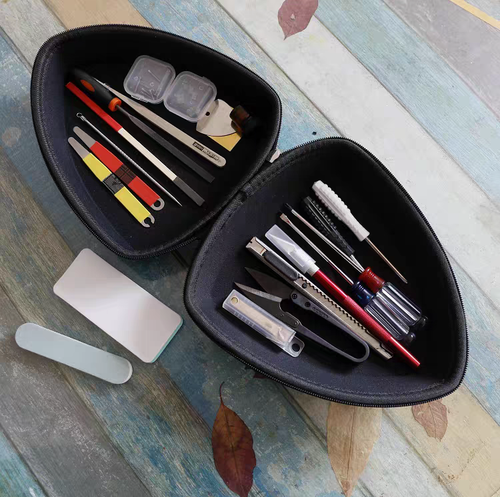
Before tuning, ensure you have the necessary precision tools:
Digital Tuner / Tuning App: Set to A=442 Hz or A=443 Hz (standard setup to account for breath pressure).
Fine Abrasive Tool: A diamond micro-file, tuning scraper, or 1000-grit sandpaper strip.
Support Tool: A thin brass shim, feeler gauge, or reed wrench to support the reed while filing.
Reed Lifter / Plucker: To gently test the spring and clearance of the reed.
Step 2: Center and Clear the Reed Slot
A new reed must sit perfectly centered over the reed slot without catching on the edges.
Hold the reed plate up to a bright light source.
Look down the length of the slot to ensure equal clearance on both sides.
Pluck the reed gently. If you hear a clicking sound or no sound, the reed is rubbing against the slot wall.
Use a reed wrench at the rivet base to align the reed until it swings freely through the slot.
Step 3: Set the Initial Gap (Reed Offset)
Proper reed offset determines response time and breath efficiency.
If the gap is too high: The reed requires excessive air and feels unresponsive.
If the gap is too low: The reed will choke under strong blowing or drawing.
Adjustment Method:
To lower the gap: Gently press down on the base of the reed near the rivet.
To raise the gap: Place a thin shim under the reed tip and gently lift upward.
Rule of thumb: The gap at the tip should roughly equal the thickness of the reed itself.
Step 4: Pitch Tuning (Filing the Reed)
Pitch tuning requires removing tiny amounts of metal from specific areas of the reed. Always support the reed from underneath using a brass shim to avoid bending the rivet joint.
Tuning Objective
Where to Remove Material
Method
Raise Pitch (Sharpen)
Reed Tip
Lightly file across the top surface of the tip.
Lower Pitch (Flatten)
Reed Base (near rivet)
Lightly scrape or file the base/weighted area, avoiding the rivet itself.
Pro Tip: Tune slightly sharp when testing with light breath pressure, as normal playing pressure naturally pulls the pitch down.
Step 5: Final Testing and Voicing
Assemble the reed plates back into the comb and covers.
Play the note using warm, natural breath pressure—do not blow too hard.
Check chords and intervals alongside neighboring notes to ensure smooth harmonic stability.
Re-check gap settings if the note lags or chokes during quick phrasing or bending.
Key Takeaways
Always support the reed from underneath before scraping or filing.
Adjust offset and alignment before final pitch tuning.
Remove minimal material at a time; test pitch frequently using natural breath pressure.